Tag in its common context means a small piece of paper, cloth or metal, with information on it, which is tied to something larger. Tags such as Price Tags, information Tags or Instructions tags are the most common form of tags we come across in our daily lives. Most of these are physical and visual and usually associated with marketing activity of some kind.
With the evolution of internet marketing, the tags too have evolved from just being physical to online. Google started the evolution of tags from 2014 and now Google Tag Manager is one of the essential Google tools which you cannot avoid if you are looking to grow your business or blog online.
What is a Google Tag and How do you use it? Why do you need to use a Google Tag?
In website optimization, the most common terms that get thrown a lot are keywords, backlinks/ link building, content quality, and page speed. It is not often that you see Google Tags as a piece of advice.
In this post today we will cover the basics of Google Tag manager and discuss how to use Google Tag Manager for Website Optimization. More specifically we will try to answer the below commonly asked questions:
- What is a Tag and What is it used for?
- What is a Code Snippet?
- What is a Data Layer and Variables?
- What are Triggers
- How does a Tag Manager work?
- How to get started with Tag Manager
By the end of this post we hope to have informed you enough to decide if you want to install Google Tag manager on your website, and use it to optimize your website for marketing.
The Basics of Google Tag Manager

What is a Tag and What is it used for?
A tag is a snippet of code that you put in your website’s HTML or source code which helps in tracking and collecting information such as your site visitors’ IP address or location, gender, country etc. The collected information is then fed into the Google database (Google Analytics / Ad Words etc) where it is analyzed and converted into reports to be easily interpreted for further use.
Some examples of what a google tag can help you with are:
- Track form submissions
- Conduct surveys
- Generate heat maps
- Monitor file downloads
- Monitor clicks on your website
While the primary purpose of a tag is to track data, there are endless possibilities on what you can do with a tag. Also contrary to the popular belief that Google Tag can only work on Google Analytics, it is proven that the tag supports multiple third party vendor systems as well.

What is a Google Tag Manager
Google Tag Manager, is a free tool that allows you to deploy marketing tags on your website or mobile app. The Google Tag manager tracks and collects data, and shares it internally with Google’s analytical software such as Google Analytics and Adwords. It can also track and share information with third-party applications like Hotjar, Crazy Egg, Bing Ads, Twitter, and more.
One of the most common uses of Google tag Manager is that it helps to test different variations of your web pages. With the deployment of a tag, you can see how people behave on your website. You can test different designs / campaigns, and the data that the tag collects will tell you which variant is more effective.

What is a Code Snippet in Google Tag Manager?
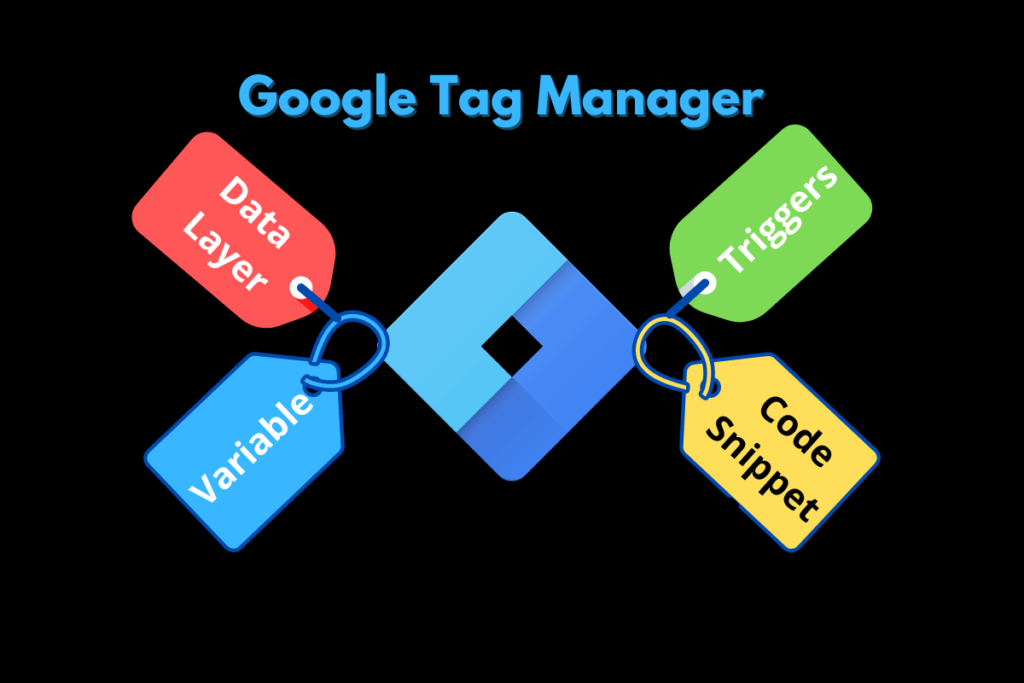
A code snippet is a string of computer code. This code, like other technical codes, cannot be changed or altered for it to work. When you embed this code inside your website’s source code, it communicates with the system that “owns” the code.
Here is an example of a code snippet:
It looks technical and does not make much sense on first glance. But once this code is embedded in your website’s source code, it will start collecting information and communicating with Google. Whatever commands are structured in your Google Tag manager dashboard, the code will execute it.

What are Data Layer and Variables in Google Tag Manager?
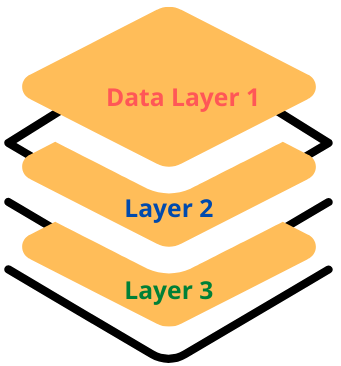
A data layer is a JavaScript, a computer code, that passes information from the tag to the Tag Manager. The Tag Manager can then analyze and use the data for triggers / variables etc. This allows you to control your tag configurations, and then populate information, or variables, from data collected by the tag.
In simple terms - A data layer is a temporary location where Google Tag Manager stores the information it collects. Imagine Data Layer to be a container where you store tennis balls. Each tennis ball has some information such as user details, sale ID, purchase ID, item clicked etc. Google Tag manager relies heavily on the information in this container. It can use the information for labeling a variable, triggering a condition etc. This is the information which gets shared further to Google Analytics and Third party vendors.
A variable is denoted as the type of information being collected, like product name, demographics, price, date, gender etc.

What are Triggers in Google Tag Manager?
A trigger is a rule or an act which causes an event to take place.
If are intending to use Google Tag Manager for website optimization, you probably are looking for GTM to gather information customized to your needs. To do this, the tag manager needs to be notified to gather information. The rule that notifies the tag manager is the Trigger.
Consider this example - Let us say that your job is to count and bucket the number of customers that come inside a restaurant. Your job responsibilities are:
- Count the number of restaurant visitors
- Label them per their gender
- Mark them as adult, teen, or child
Before you start your classification, you need a trigger. In this case, the trigger is a person or group of people stepping inside the restaurant. Once you see a person step inside, it triggers you to write and list down the person’s sex, age and number of people in the group.
Google Tag works in a similar way. It has to fire to work. For it to fire, it needs a trigger.
Here are the most common examples of triggers:
- Page views
- Clicks
- Form submissions
- Errors
Take note that triggers are always associated with events. In technical parlance, an event refers to an activity, like a click etc. In the example above, the event was the customer entering the restaurant. The trigger was to record the details.
How does the Google Tag Manager work?
Like other Google apps or Tools, the concept behind the working of the Google Tag Manager is simple. But before we delve more into that, let’s understand the complexity around the management of tags.
In the days past, you were required to create different codes or different tags for different triggers or events. For example, a tag for recording a web visit and a different tag for recording a click, etc.
Also, you needed to put theses tags on different pages of your website. If one tag needed to have a code change, you would prob need to change some other codes too if you had related pages.
This was a nightmare.
Google solved it with its Tag Manager.
GTM works as below:
- You create a container tag, which generates a code snippet
- You place that code snippet in your website’s <HEAD> and <BODY> elements
- You go to your Google Tag Manager dashboard, and you configure how you want the tag to work
Once you have set up your tag container, you can sit back and simply visit the data that your tags collect periodically. If you create Ads in Google Ads, you can instruct your tags to only show your Ads to the people who triggered an event on your website.
How to get started with Google Tag Manager (Step by Step)
Below is a detailed guide on how to use Google Tag manager step by step.
Create an Account
Sign in to Google Tag Manager. The link is here
Click on Create Account.

Next, enter your Name / Company Name, add your website’s domain, and then choose the kind of container you want. In this case, we will choose Web because the tag we are installing is for a website.

Next click on the blue CREATE button at the bottom of the page. Once you hit that button, the below pop-up will appear.

The pop-up is where you accept the terms and conditions. Click YES at the upper right corner, and the Google Tag Manager will show you the code snippet.
Install the Code Snippet in Your Website
For the purposes of reference, we have chosen WordPress as the domain host. Follow the below steps on how to install Google Tag Manager in WordPress. The code snippet from Google Tag Manager looks like this:

Next, go to your WordPress dashboard.
Go to APPEARANCE > THEME EDITOR.
Find HEADER. PHP at the right side of your page. Click that, and wait for the code to load.
Once the PHP code for your header is loaded, locate the <head> tag. Paste the first part of the code that you got from the Google Tag Manager, just underneath the <head> tag.
Below is how it should look.

Similarly, find the <body> tag under header.php and paste the second part of the code just below it.
Below is the snapshot:

Press the SAVE button, in blue, at the bottom of your WordPress theme editor.
Your tags are now configured. Next you have to setup triggers for your tags to operate.
Setting Up Tag Triggers
The last step in optimizing your website using Google Tag Manager is to set-up your events and rules. Continuing from Step 2, let’s head back to our Google Tag browser.
Hit the OK button at the bottom of the code snippet box.
Next, click on WorkSpace at the top left and then click on TAGS on the left. Click on NEW.

From here, click on the TAG icon inside the TAG CONFIGURATION BOX, as shown below:

The next screen will appear as below:

Next click on the Discover phrase, and the below screen will appear:

For this demonstration, we will choose Google Analytics: Universal Analytics.
Once the selection is made, you will be diverted to the tag page. Below is the tag configuration box titled as TRIGGERING. Click on the edit button like shown below:

You will see an option that says All Pages, Page View. A Page view trigger fires immediately when the browser starts to load a page. This is mostly used to collect the data generated from page impressions.
The edit button will take you back to the previous page which will now look as below:

Click on the SAVE button at the top right

In some situations, the system may return an error. For example, it may ask you to select a variable or make an exception. In this case, log on to your Google Analytics account, and then get your TRACKING ID number.
The tracking Id can be found as below: Log-in to your Google Analytics Account, then click ADMIN > PROPERTY > TRACKING INFO.
From there, you can copy your tracking ID, go back to your Google Tag Manager, then paste it on the TRACKING ID box.

Do not forget to save it.
Once this is done, Google Tag Manager is now going to collect data, and then send that data to your Google Analytics account.
The last thing you need to do is using Google Tag Manager for website optimization is to click PUBLISH at the top right. Once you do this, you need to name the tag, and then add a description. This should help you later on in remembering what this version of trigger is about.
Summary: How to Use Google Tag Manager for Website Optimization
Google tag Manager is a powerful Google tool which can transform the way you view data gathered from your website. It can help you optimize your website for better clicks, sales and conversions. Also it can help you test multiple versions of an Ad and then check performance against it. The basics lie in understanding the various components of the GTM such as Tags, Triggers, Data Layer and Variables. Once you get the hang of it, you can structure your tags to do multiple tasks and optimize your end goal. The best thing about Tag Manager is that you no longer have to keep changing your tags if there are changes on what you need to track. You can just change the command in your dashboard.
Just like the application of any tool, I strongly suggest going through the trial and error phase and then figuring out what works for you and what does not. This is the best way to learn and get proficient with any tool especially the Google Tag Manager.
Google Tag Manager is valuable not only for marketers but for all who want to optimize their websites and conversions. Once you understand and implement it correctly, the tool would be of great assistance in making vital business decisions based on actual data and not on hunches.


